
2004 270 LED cabin
 J3ff
Member Posts: 4,223 ✭✭✭✭✭
J3ff
Member Posts: 4,223 ✭✭✭✭✭
Might as well throw this in here:
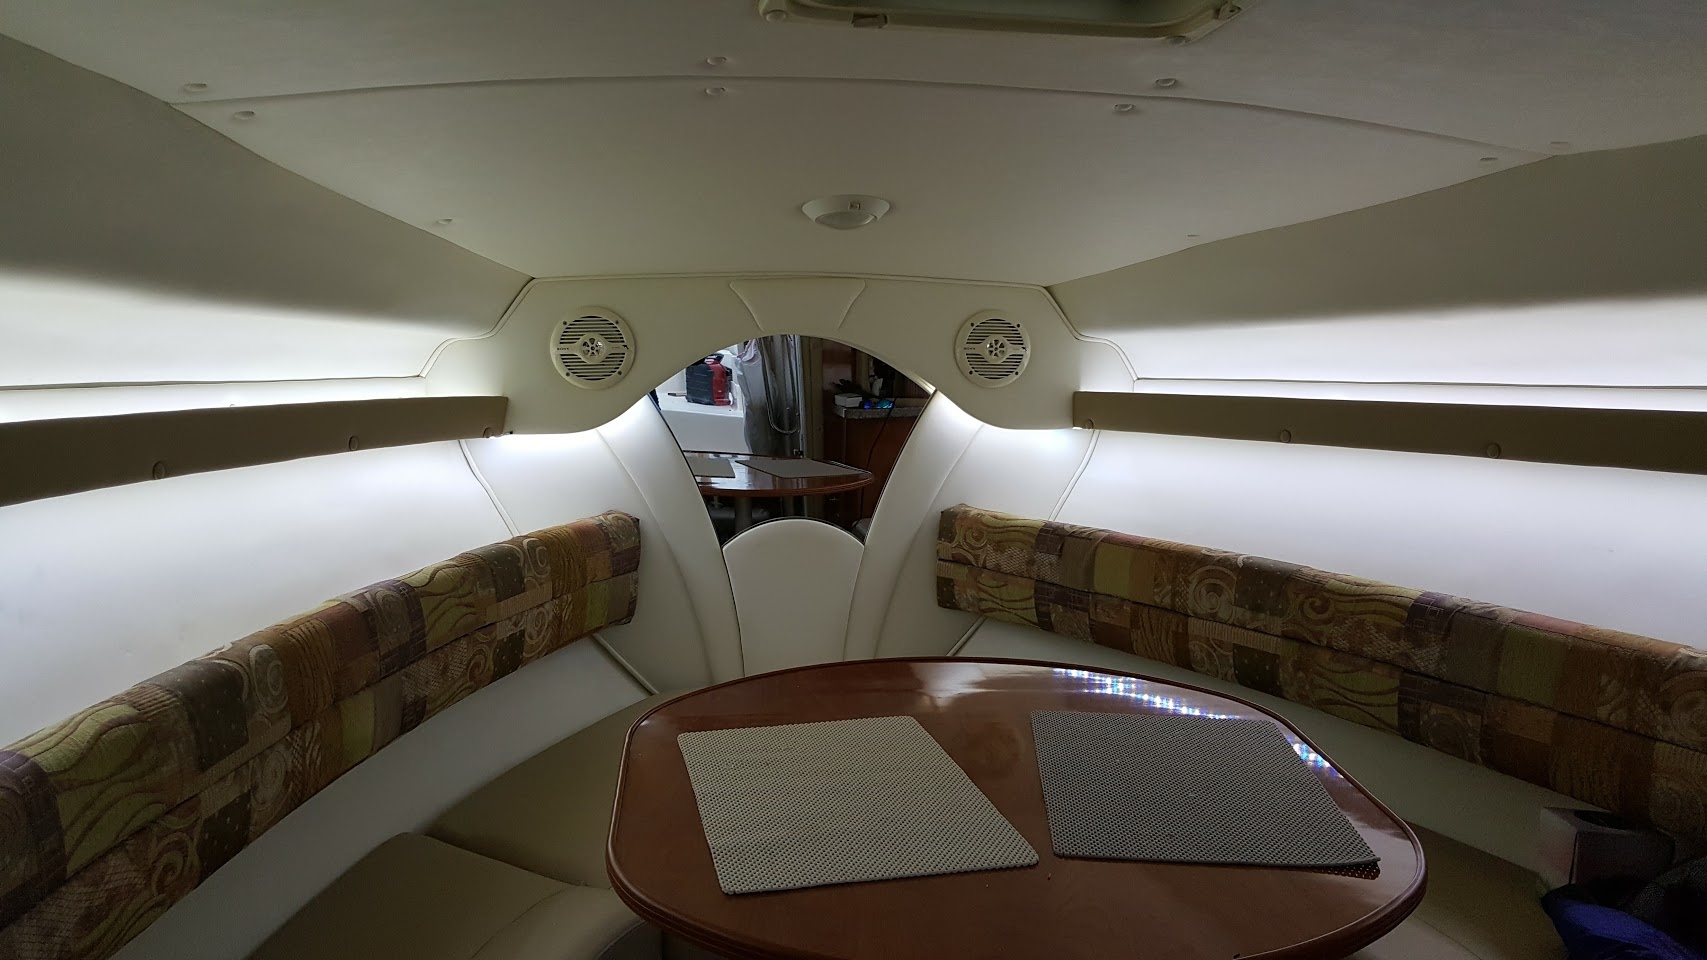
Finished the lights around the table today... ultimately I'd like to put some above the sink/microwave that would illuminate the ceiling and some on the top self of the bed area.. but for now this is where I'm done with lighting for the winter.
They do all the same thing, flash, strobe, whatever..just needed some better light down there!
Two of these: https://www.amazon.com/gp/product/B01IHDYYFS/ref=oh_aui_detailpage_o06_s00?ie=UTF8&psc=1
Some connectors and some wires.
I ran each side on its own power source because when I ran both side off the same power, there was a noticeable cut in brightness.
Comments
I just used the regular backing that it came with... I'm expecting it to fall off, but the right side is weeks old... might have to use some kind of glue, this would only be for the bottom one, the top is good to go!
Thanks for the tip on the lock tite, I'll pick some up for sure!
On the port side where did you tap into a power source?
And if you have 2 kits, I assume you control each side with a separate remote?
- bought the same kit so one remote control does them both... before I set them up I tested the location for the ir sensor to make sure that there were multiple locations I could point the remote and they'd both light up at the same exact time/color... so far works great
Dream 'Inn III -- 2008 400 Express
2002 FV 342 on Lake St. Clair - Past Commodore SHC - Vessel Examiner USCGAUX
Yes
Dream 'Inn III -- 2008 400 Express
boat name: Nauti Buoys
2008 Rinker 280ec
2 of these: https://www.amazon.com/gp/product/B01IHDYYFS/ref=oh_aui_detailpage_o00_s00?ie=UTF8&psc=1
Pair of these: https://www.amazon.com/gp/product/B01G7YHYTW/ref=oh_aui_detailpage_o00_s01?ie=UTF8&psc=1
I just had a thought that I can just cut from each end of the LED strip and use the female-to-female adapter for the 2nd strip. But would be good to know what connector I should get if I want to add a 3rd strip (like below the seatback cushion)
Basically, I'm copying what you did as I really liked your photos!
There's a difference between RGB and RGBWW strips, as we've discussed.
There's also a difference between RGBWW and RGBWW WATERPROOF strips..
Guess which one I couldn't find connectors for? Yup, the RGBWW WATERPROOF ones that I bought.. but to be honest, I really wanted them water proof because of humidity reasons and such.. see the picture above? see how one is covered and the other isn't..
What I did was I bought RGBWW non-waterproof connectors (5 wires, or pins) which are easy to find on amazon ( https://www.amazon.com/gp/product/B019MTK554/ref=oh_aui_search_detailpage?ie=UTF8&psc=1 )
Then I would cut where needed... and take a sharp razor blade and carefully get the rubberized waterproof part off of the strip...put some shrink wrap around it..connect it up and then seal it off (be careful, don't want to get things too hot!)
If you can find a "RGBWW Waterproof quick connectors" that would make things much easier.. at the time I searched for a bit, but had already bought everything, so I just powered through getting it done! Good luck and post pictures!
edit: there are LOTS of RGB waterproof connectors, just couldn't find RGBWW