
Best Of

Re: Meet the new La Rea!
(Cross-post from our blog at LaRea.net)
=================
Confessions from a Maintenance Junkie

=================
Confessions from a Maintenance Junkie
This article shares a glimpse of my obsession with boat maintenance. Depending on your point of view, you might find it beautiful and/or disturbing.
Some boaters have chronic bad luck with their boats. Over the years, I observed that those unlucky boaters ignored routine boat maintenance. So I adopted the philosophy that maintenance is how I can "manufacture" good luck. I started paying more and more attention to maintenance, tracking it, trying to make myself luckier. Now the tracking has evolved into full obsession.
My enabler? A computer spreadsheet with thousands of notes, tables and formulas. It summarizes everything: upgrades, repairs, wiring diagrams, costs. And yes, recurring maintenance. The boring stuff -- oil changes, fuel filters, yada yada yada.
There's a maintenance "dashboard" that tracks 29 jobs. Each time I finish a job, I record the date and engine hours, plus service notes such as the condition of spent parts. Formulas calculate the interval since last service. Other formulas tell me when the next service is due, and they automatically flag jobs as yellow (due soon) or red (due now).
The picture shows my dashboard as of today. Because I just spent a month in our home port, almost everything is green. Woohooo! Only three jobs are flagged as red. Two are new additions to the list -- red because I don't know when the previous owner did them. The other red reminds me to find an inspector for the fire suppression system, because the DC area has no qualified inspectors.
That's my confession. I'm obsessed with maintenance, but in a good way. The result is hard real-world data based on OUR vessel and OUR cruising habits. It tells me that when I change the generator oil every 280 hours, I get healthy lab reports from the oil testing lab. It warns that my engine anodes only last 9 months, not 12 months. It says "relax for another year before shelling out $550 for new air filters."
The spreadsheet is my factory for manufacturing good luck, and we do seem to have very, very good luck!
 LaRea
LaRea
5 ·

Re: Pic Of The Day
If she can turn a wrench, then she’s got a job! Gotta train them while they can fit in those tight places! 😁aero3113 said:

 Dream_Inn
6 ·
Re: Rinker Rinker Fiesta 360 2005-2006 Random Topics
Last August purchased "Debonair" ReBoat
Just got in on the dock!!!
Same exact boat which we love but with the Volvo Penta 8.1 with ocean X drive and a bow thruster!!!

Just got in on the dock!!!
Same exact boat which we love but with the Volvo Penta 8.1 with ocean X drive and a bow thruster!!!
 tricountytrail
5 ·


Re: Meet the new La Rea!
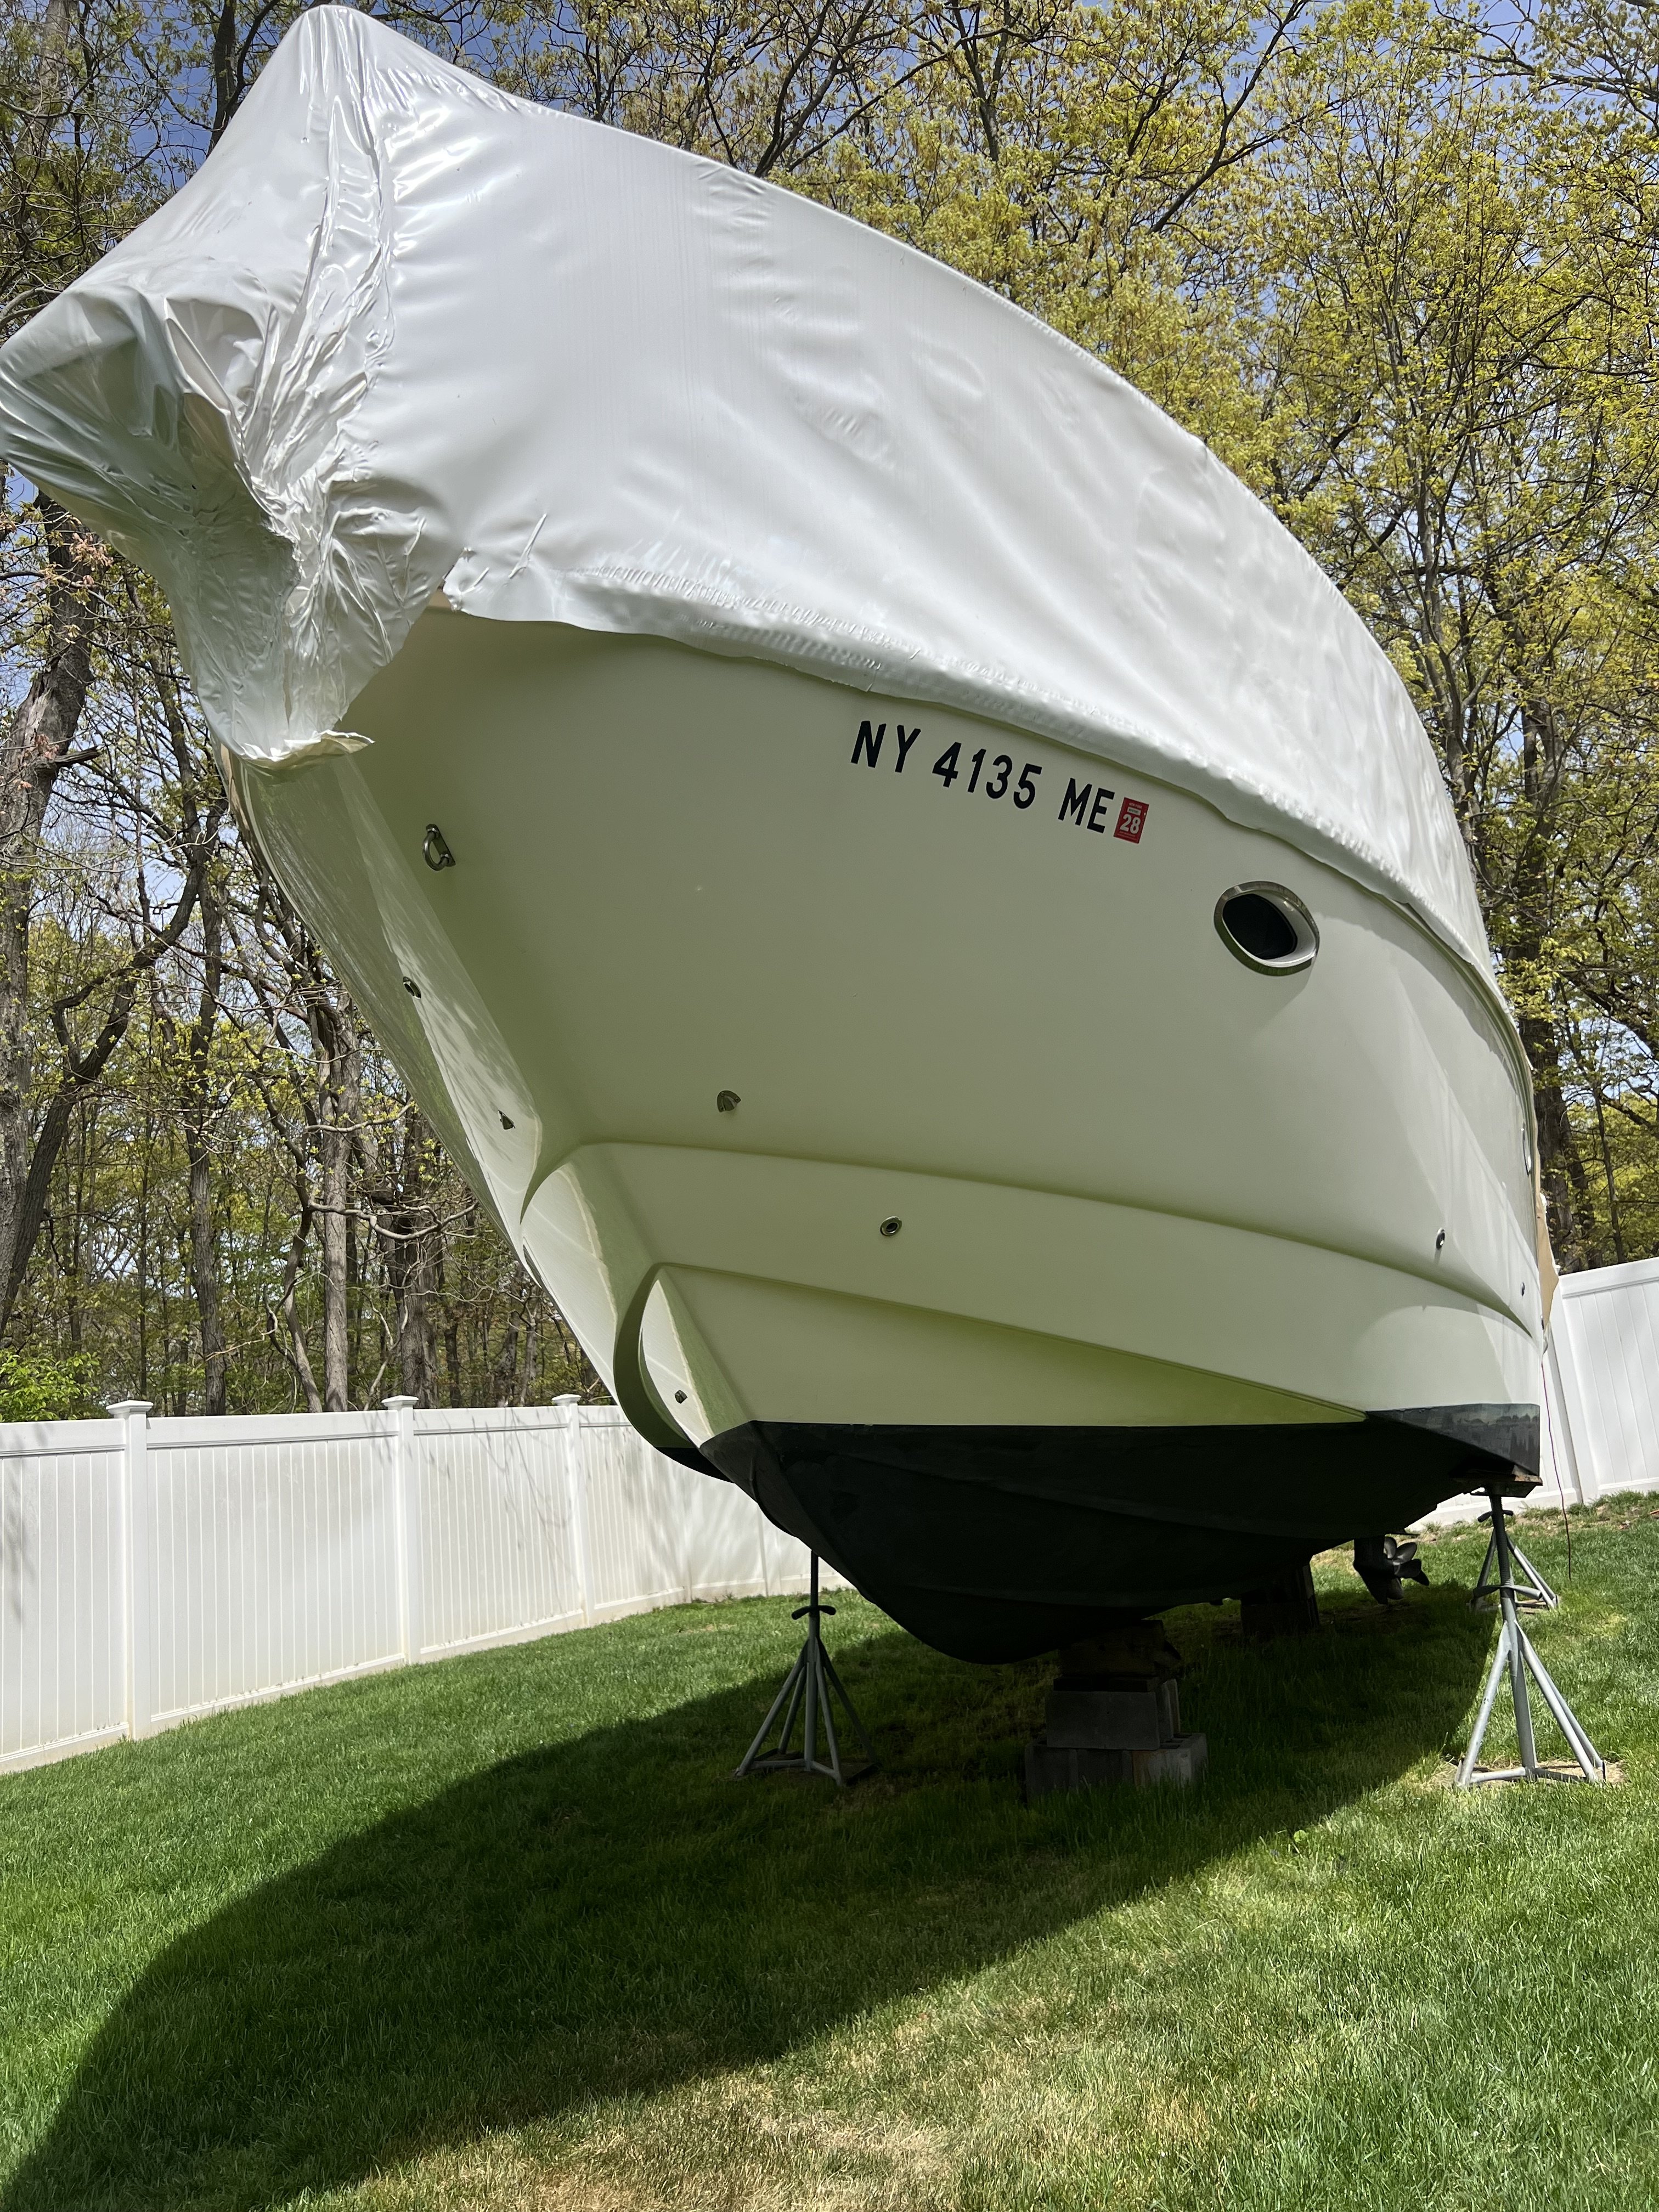
This was bound to happen sooner or later ... the aftercooler failed on the port engine. It was original from 2011, and it pressure-tested fine in December. But when I saw white smoke in the exhaust and found coolant dripping from the induction manifold, I knew the cause right away.
The starboard side was replaced in 2023, so this one was living on borrowed time. I added a shiny coating of gloss white paint, and now the boat is ready for another 15 years of cruising!

The starboard side was replaced in 2023, so this one was living on borrowed time. I added a shiny coating of gloss white paint, and now the boat is ready for another 15 years of cruising!
LaRea
6 ·


Re: What did you do to your boat today
Thanks to the great info from @ReneeChris14 and @rmfriday in this thread, I tackled the Simpson-Lawrence Horizon 600 windlass fix...no pictures of it reassembled, but here she is in a scary pile of parts.
It was a little more difficult getting it back together, but nothing a step drill and dremel couldn't fix. Also had a spring from one of the brushes depart, luckily I found it before I stepped on it and broke it.
For those that might try to tackle this, here is a pdf of the instructions with some editorializing by myself.
https://www.dropbox.com/scl/fi/atfaai0isgryg8xbhtbx7/Simpson-Lawrance-Horizon-Windlass-repair.pdf?rlkey=ftgqezmc7i1i8kax280cq1w73&dl=0
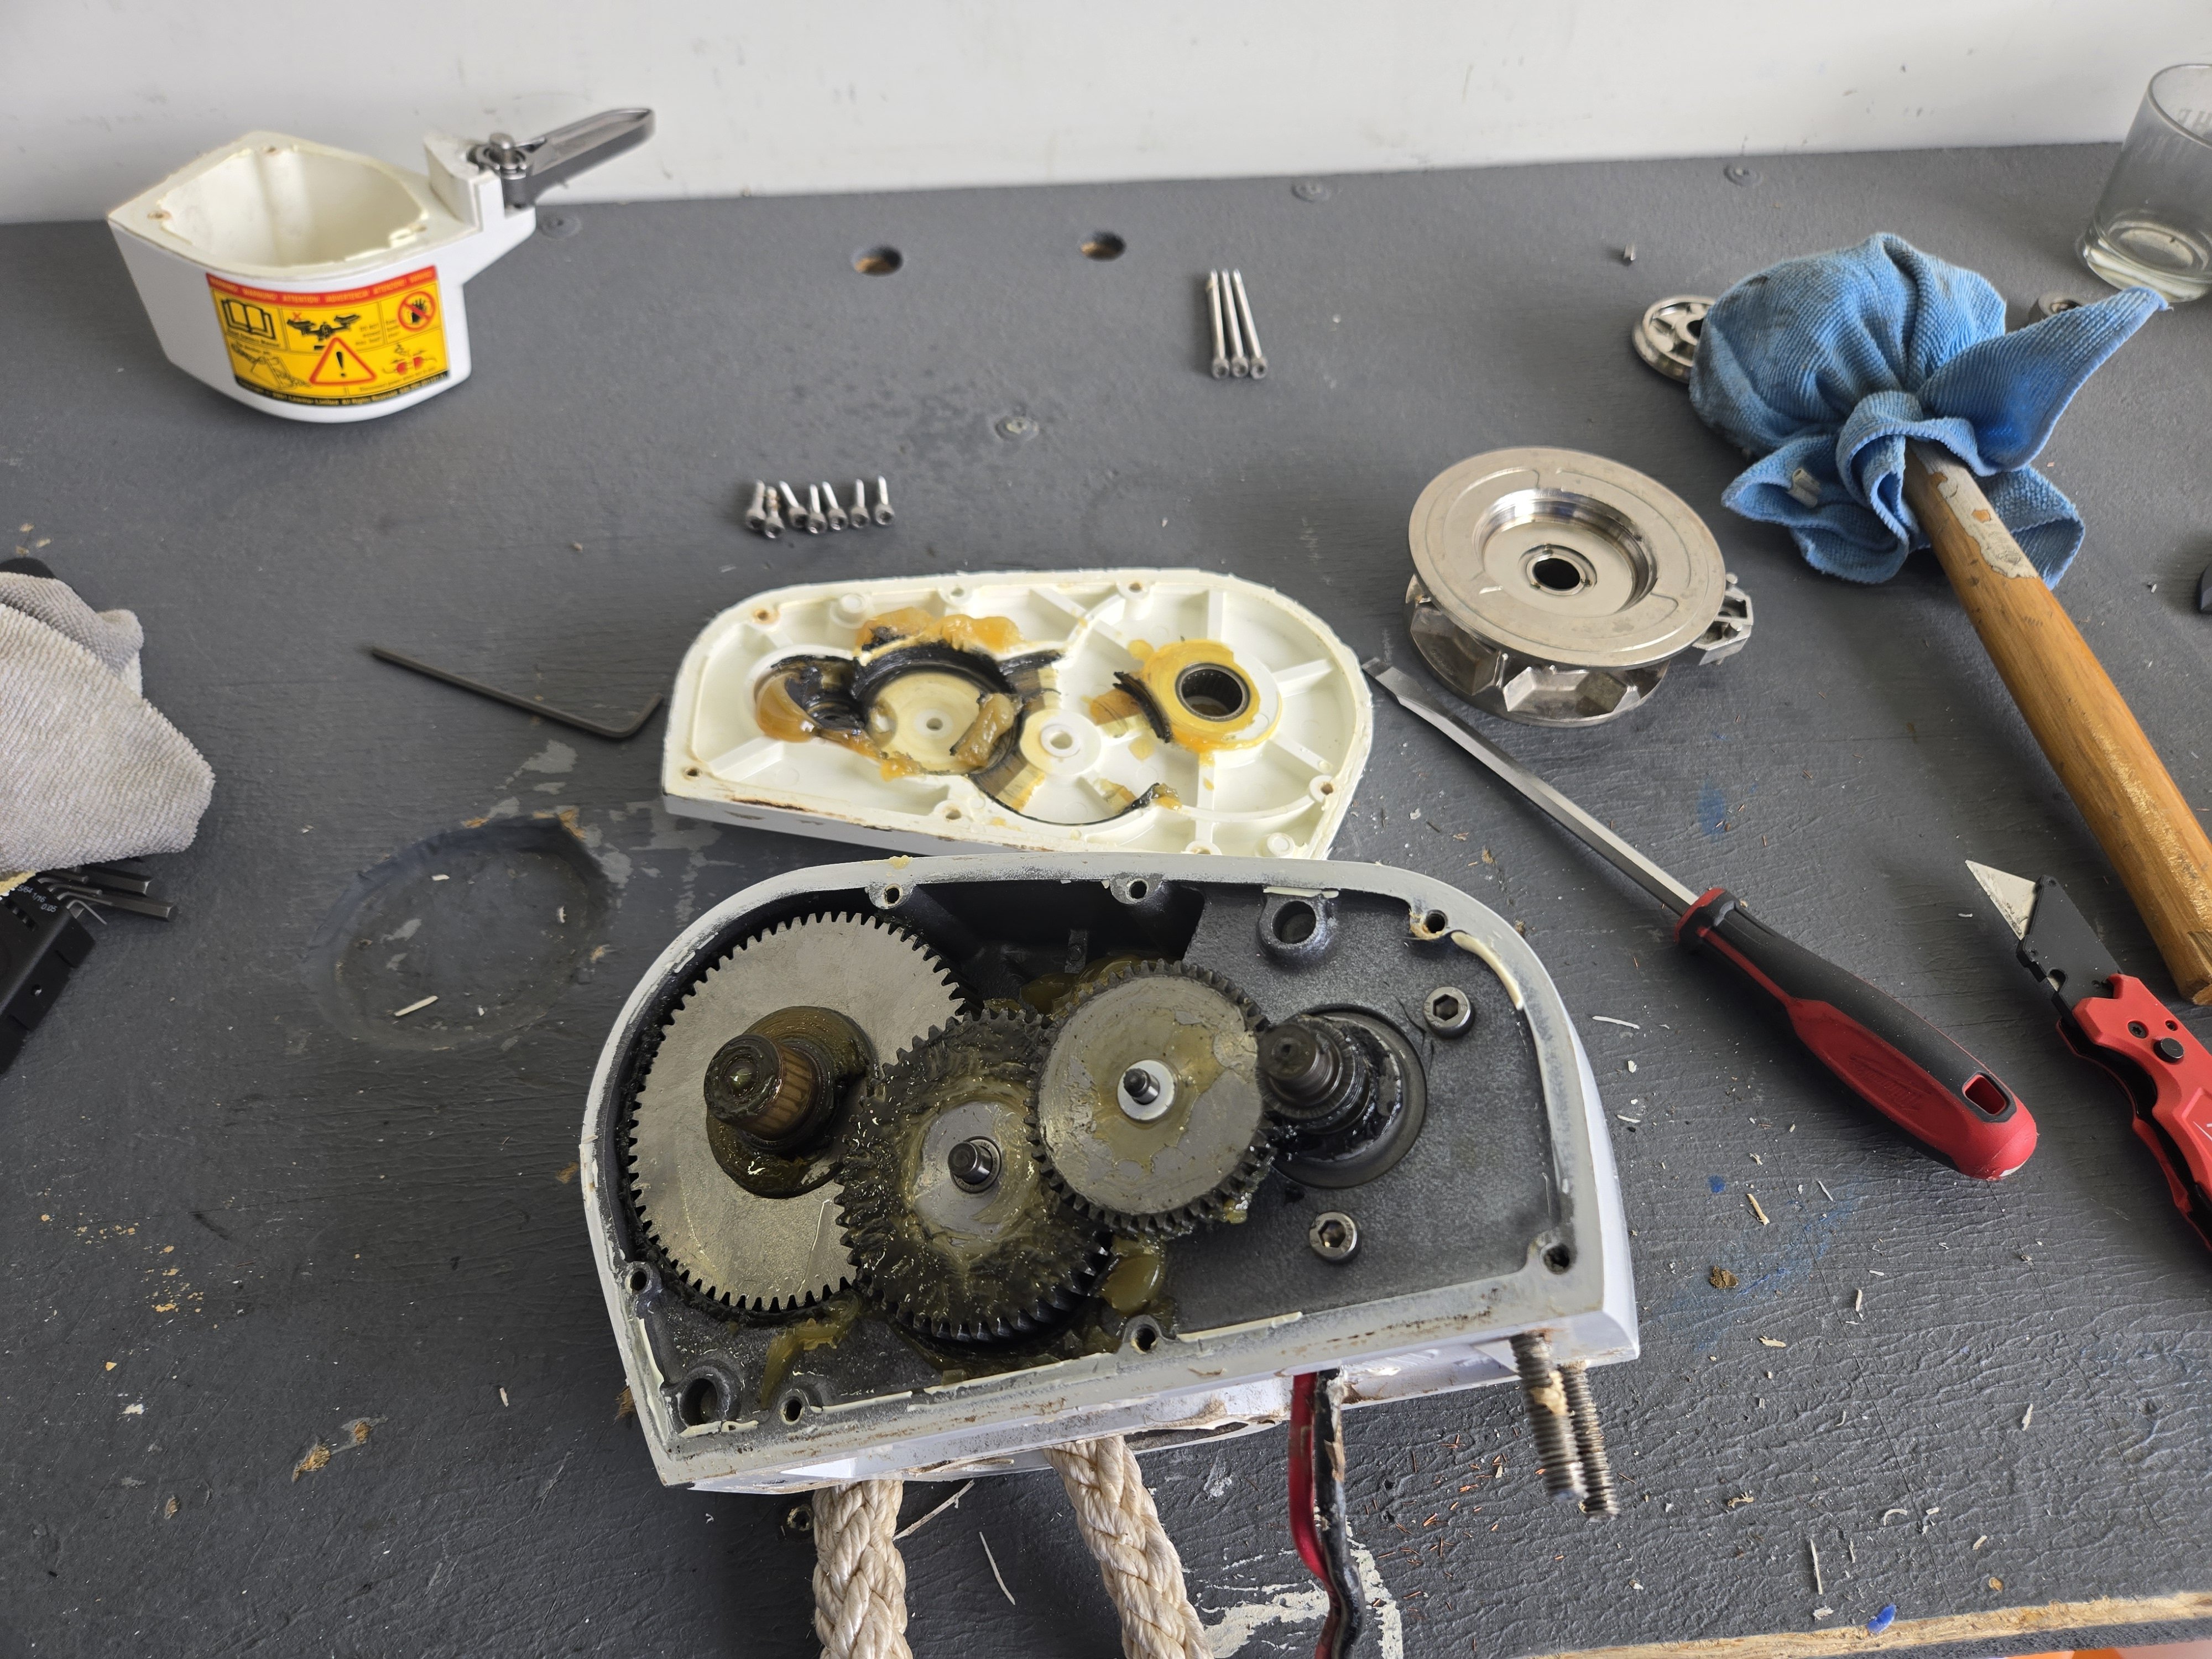
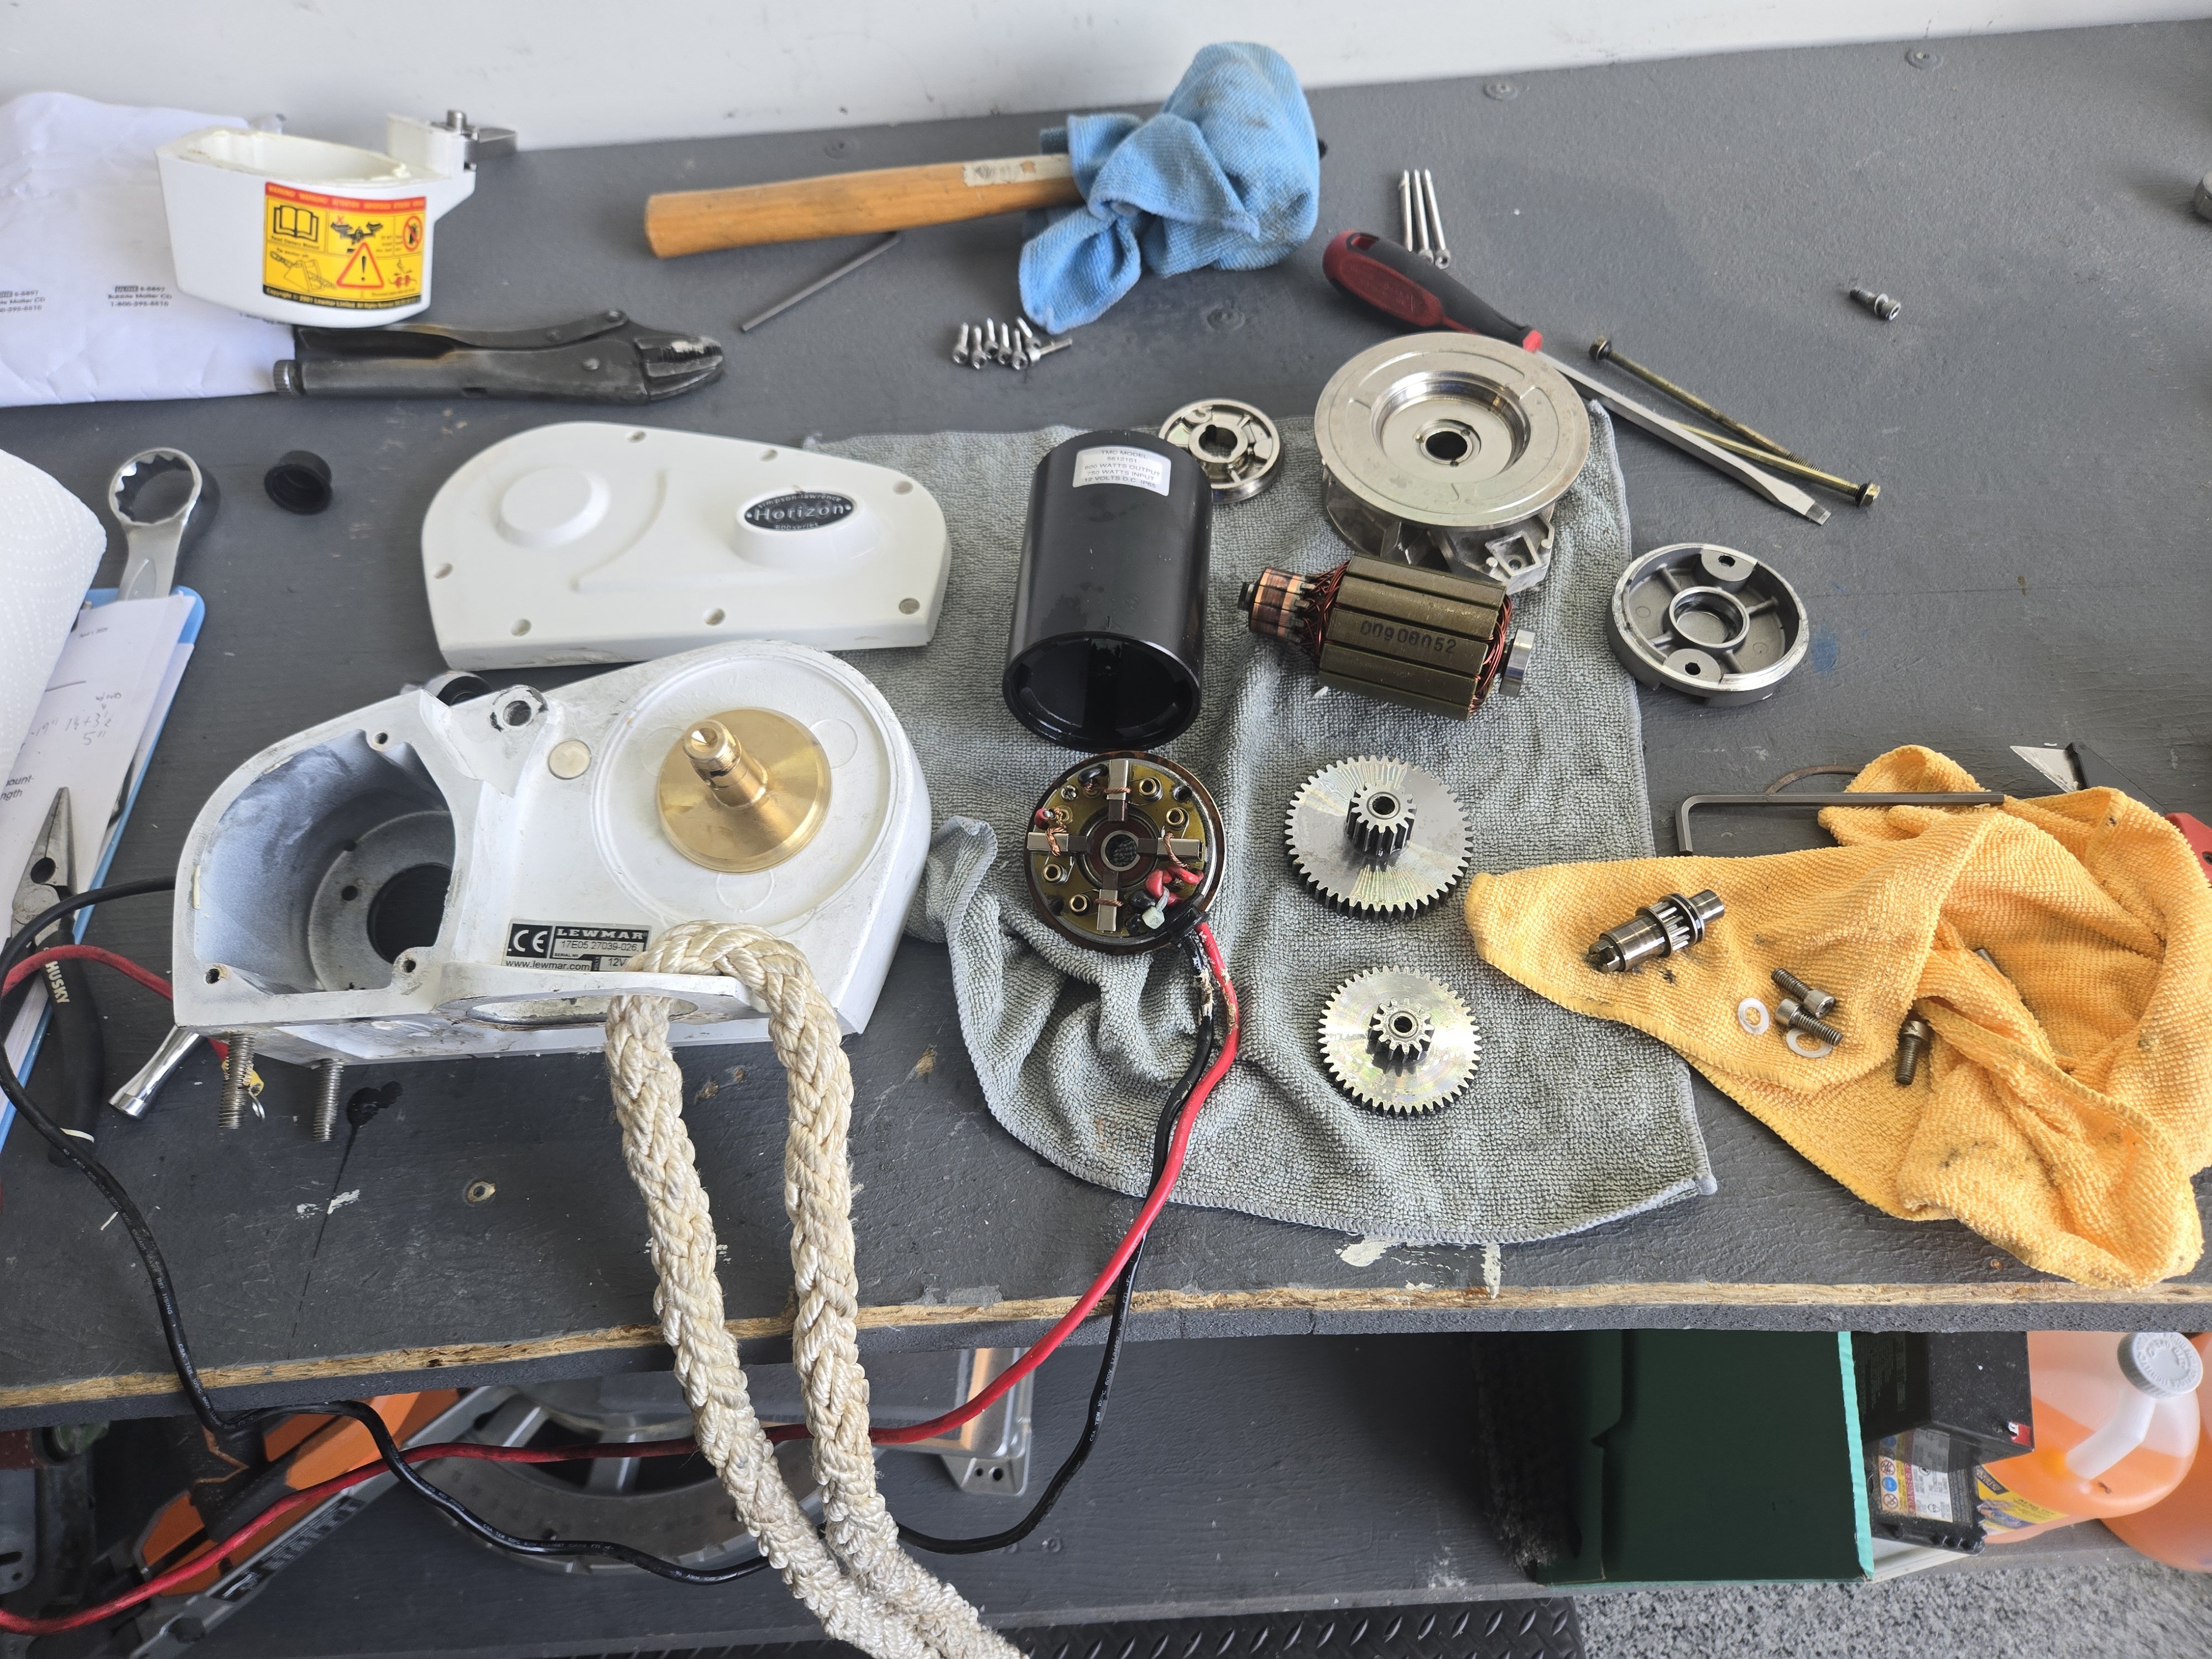
 Formulaben
5 ·