Generator acting flakey? DIY instructions to replace the fuse holders
 LaRea
Member, Moderator Posts: 7,978 mod
If you have a mid-2000's Kohler generator that stalls or won't start for no apparent reason, check the fuse holders on the front control panel to see if they are starting to break. If they are, it's easy to replace them - no soldering required.
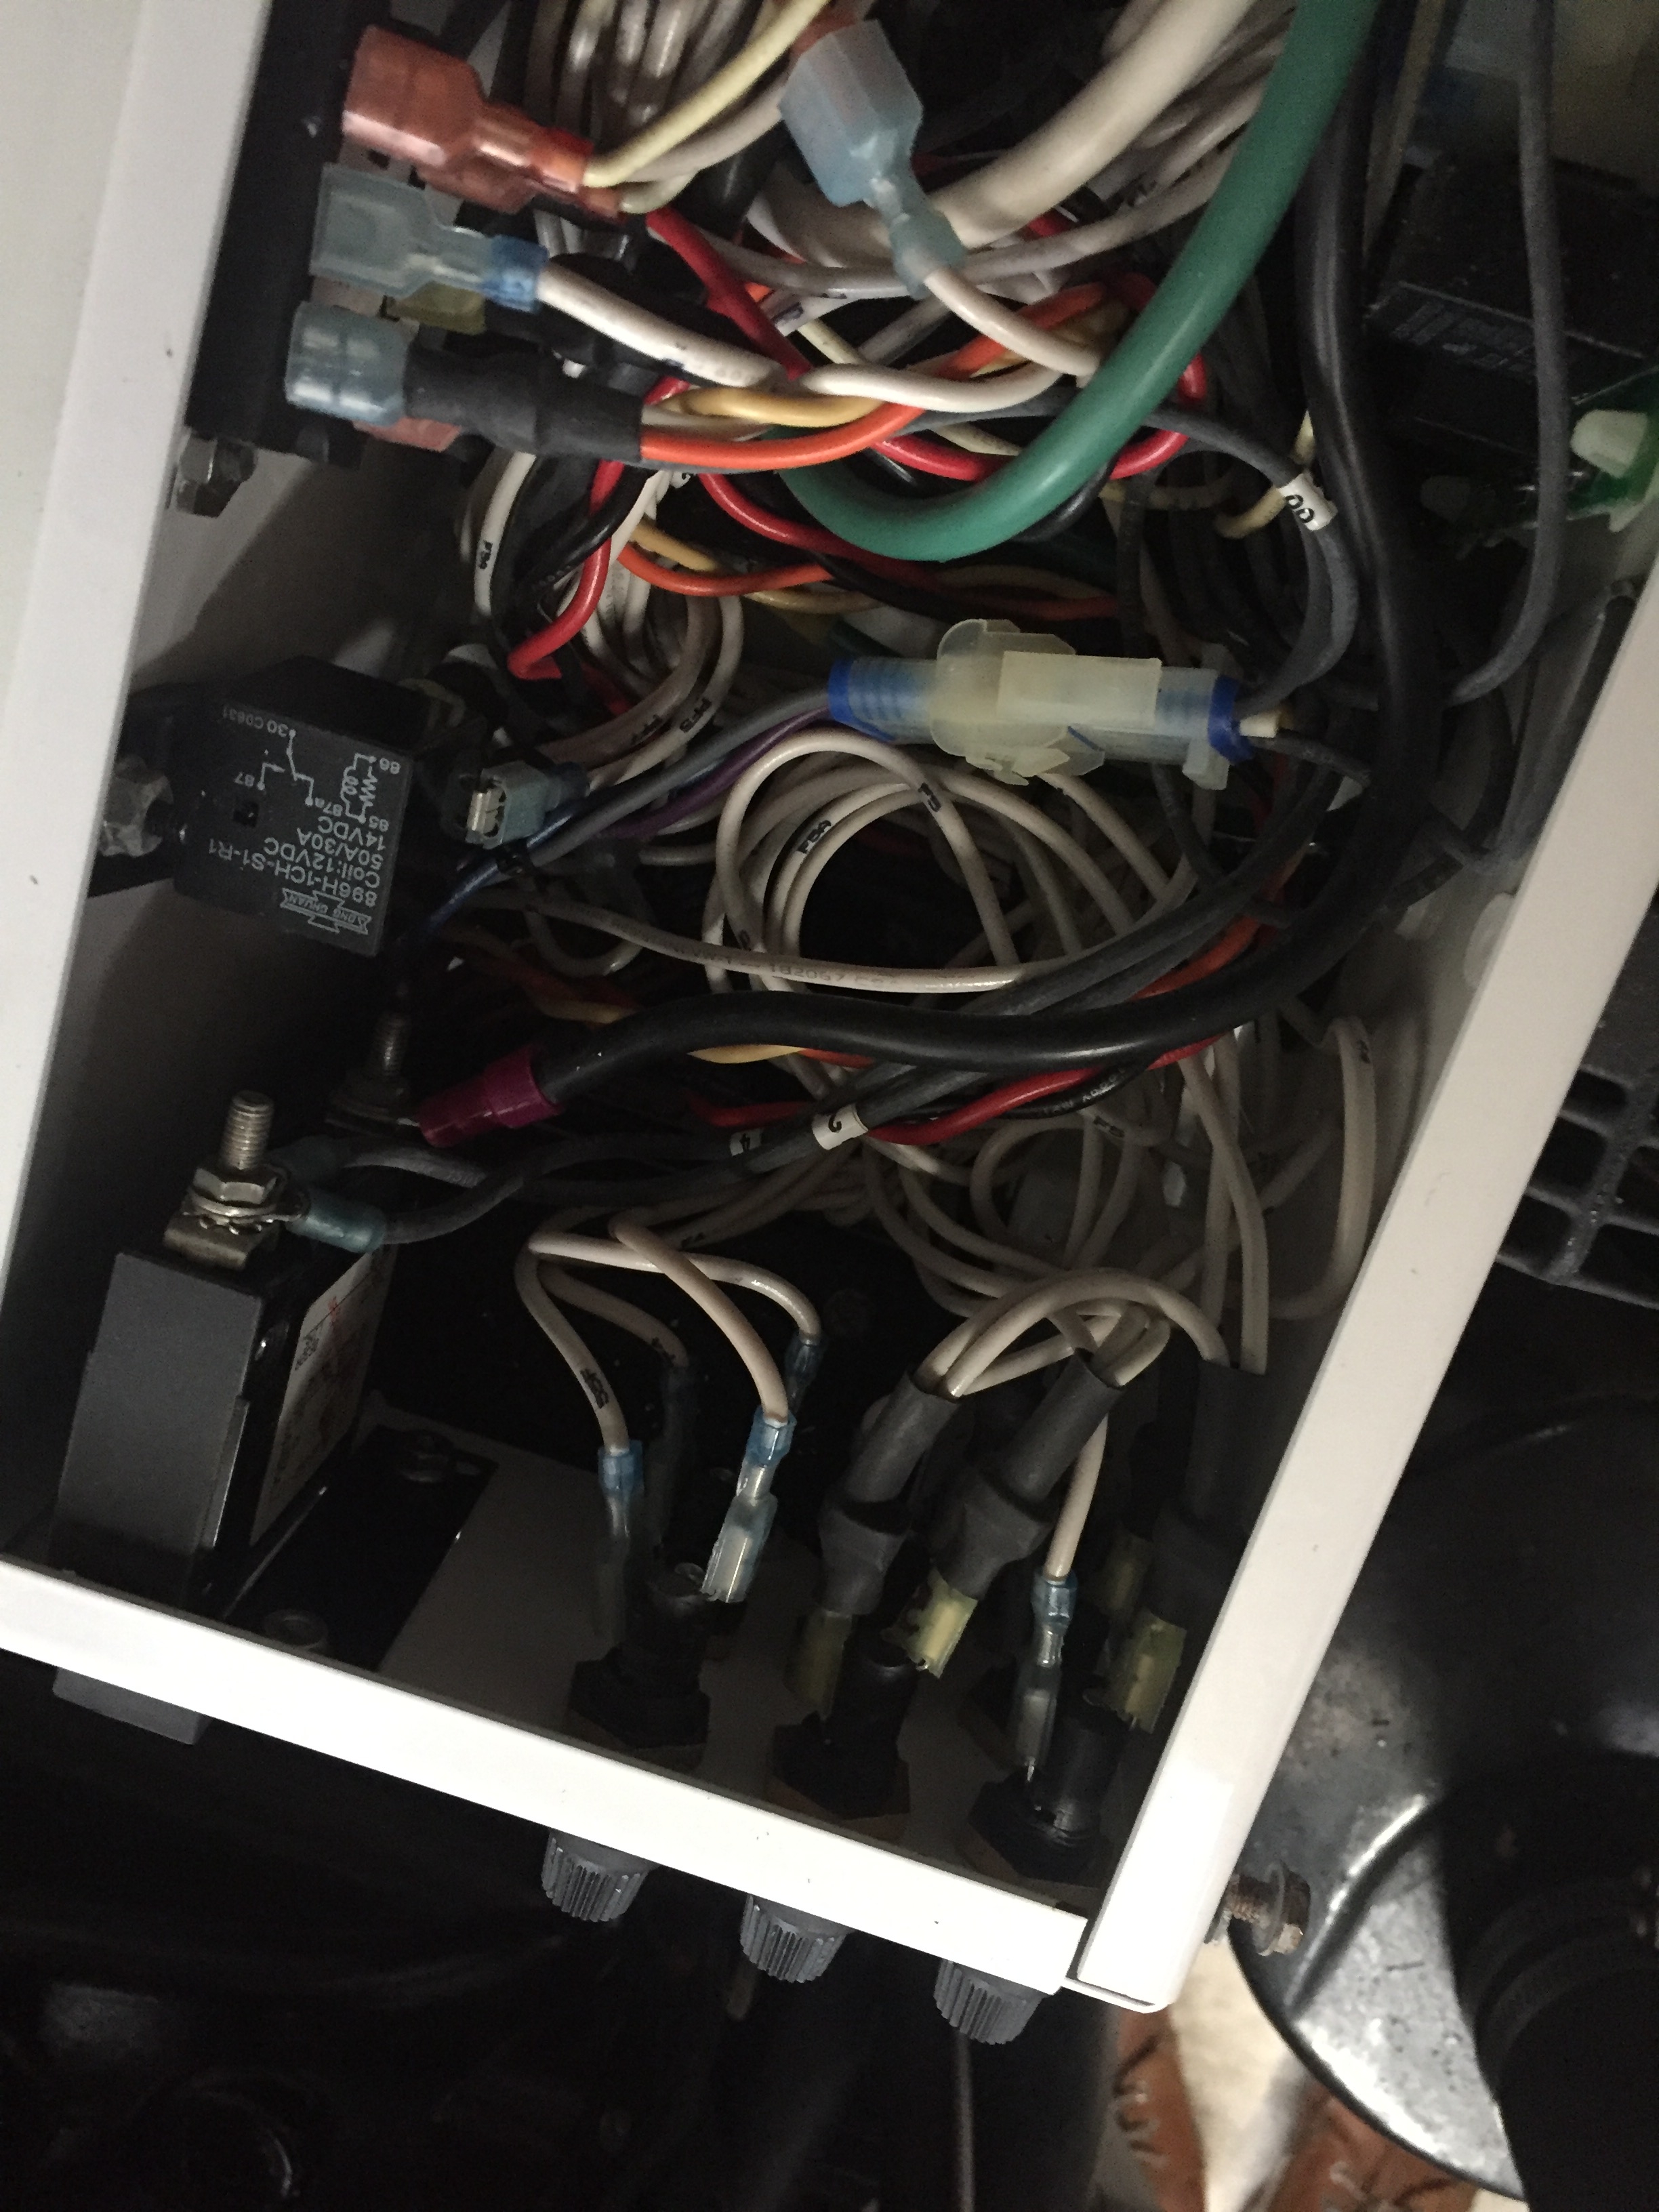
My 10-year-old Kohler 5E was doing something really strange: every time I closed the lid on the sound box, the generator would instantly stall. During trouble-shooting, I started checking the fuses (seven fuse holders on front of the generator). Most of the fuse holders were broken (or they broke when I removed the caps to check them).
In this photo, the fuse holder on the left is healthy. Inside, you can see a circular brass collar that secures the cap and makes electrical contact with the fuse. On the middle fuse holder, the collar has one ear broken off. The fuse holder on the right has both ears broken off.

With one ear broken, the cap won't screw down all the way, and you'll get intermittent contact. With both ears broken, the cap won't screw in at all. They might look fine until you check them, but a quick visual inspection will tell you if any are broken.
On my boat, when I closed the sound box, the lid was apparently touching one of the caps and making it lose contact. By the time I removed all seven caps to check the fuses, four of them were broken.
On my boat, when I closed the sound box, the lid was apparently touching one of the caps and making it lose contact. By the time I removed all seven caps to check the fuses, four of them were broken.
If you have a broken fuse holder, don't just replace it ... replace all seven. The others will probably fail soon, and it's not much extra work or cost to replace all seven. Despite what it says in the Kohler parts list, all seven fuse holders are identical. The Kohler part number is 238426. It's actually a Littelfuse 342-858.


Replacing them is easy, and can be done in 60-90 minutes with basic tools.
1) Disconnect the generator from the battery. It's probably best to also disconnect the shore power.
2) If you have a sound box, remove the front, top and right side panels.
3) At the top of the fuse panel, loosen BUT DO NOT REMOVE the four bolts that hold the top cover plate. Lift the cover plate off.


4) For each of the seven fuse holders:
* Unplug the wires from the fuse holder
* Write the fuse number (1-7) on both wires (I figured out later that the wires are labeled)
* Remove the fuse holder
* To keep track of the wires, plug them back into the old fuse holder, then pull it out of the way

5) After you've removed all seven fuse holders, start installing the new ones. Rotate it to a position where you can easily reach both connectors, tighten the nut, and reinstall the wires. The threads are plastic, so don't over-tighten.

Once I replaced my fuse holders, the genny fired right up.

Comments
Dream 'Inn III -- 2008 400 Express
Will do. As you can tell, he loves to dig in and work on boats, even during what should be vacation mode.
Dream 'Inn III -- 2008 400 Express
Replaced fuse holder, problem solved.