
DYI backstop for storage space above microwave
 LaRea
Member, Moderator Posts: 8,042 mod
LaRea
Member, Moderator Posts: 8,042 mod
If you've ever tried to store something above your microwave, and then had it fall down behind the microwave where you can't reach it, this DIY is for you. You can install a backstop and turn that area into useful storage space.
Difficulty: Easy
Time: 90 minutes
Cost: $10 if you buy new lumber
Fits: Many large Rinker cruisers such as 2007 Rinker 370
Here's the space I'm talking about:


Warning/guarantee: I did not use pretty lumber. On my boat, you can't see this mod unless you are 7 feet tall and you go looking for it. If yours is easier to see, you might want to at least throw a coat of stain on it.
You'll need three boards:
- Backstop: Pine 1x6 (I used a 6" deck board), cut 31.25" long
- Sidestop: Pine 2x3 cut 7.75" long
- Screw plate: Pine 2x4 cut 24" to 28" long
You'll also need:
- 2.5" construction screws
- 2" construction screws
- cordless drill
- hand saw
- pencil
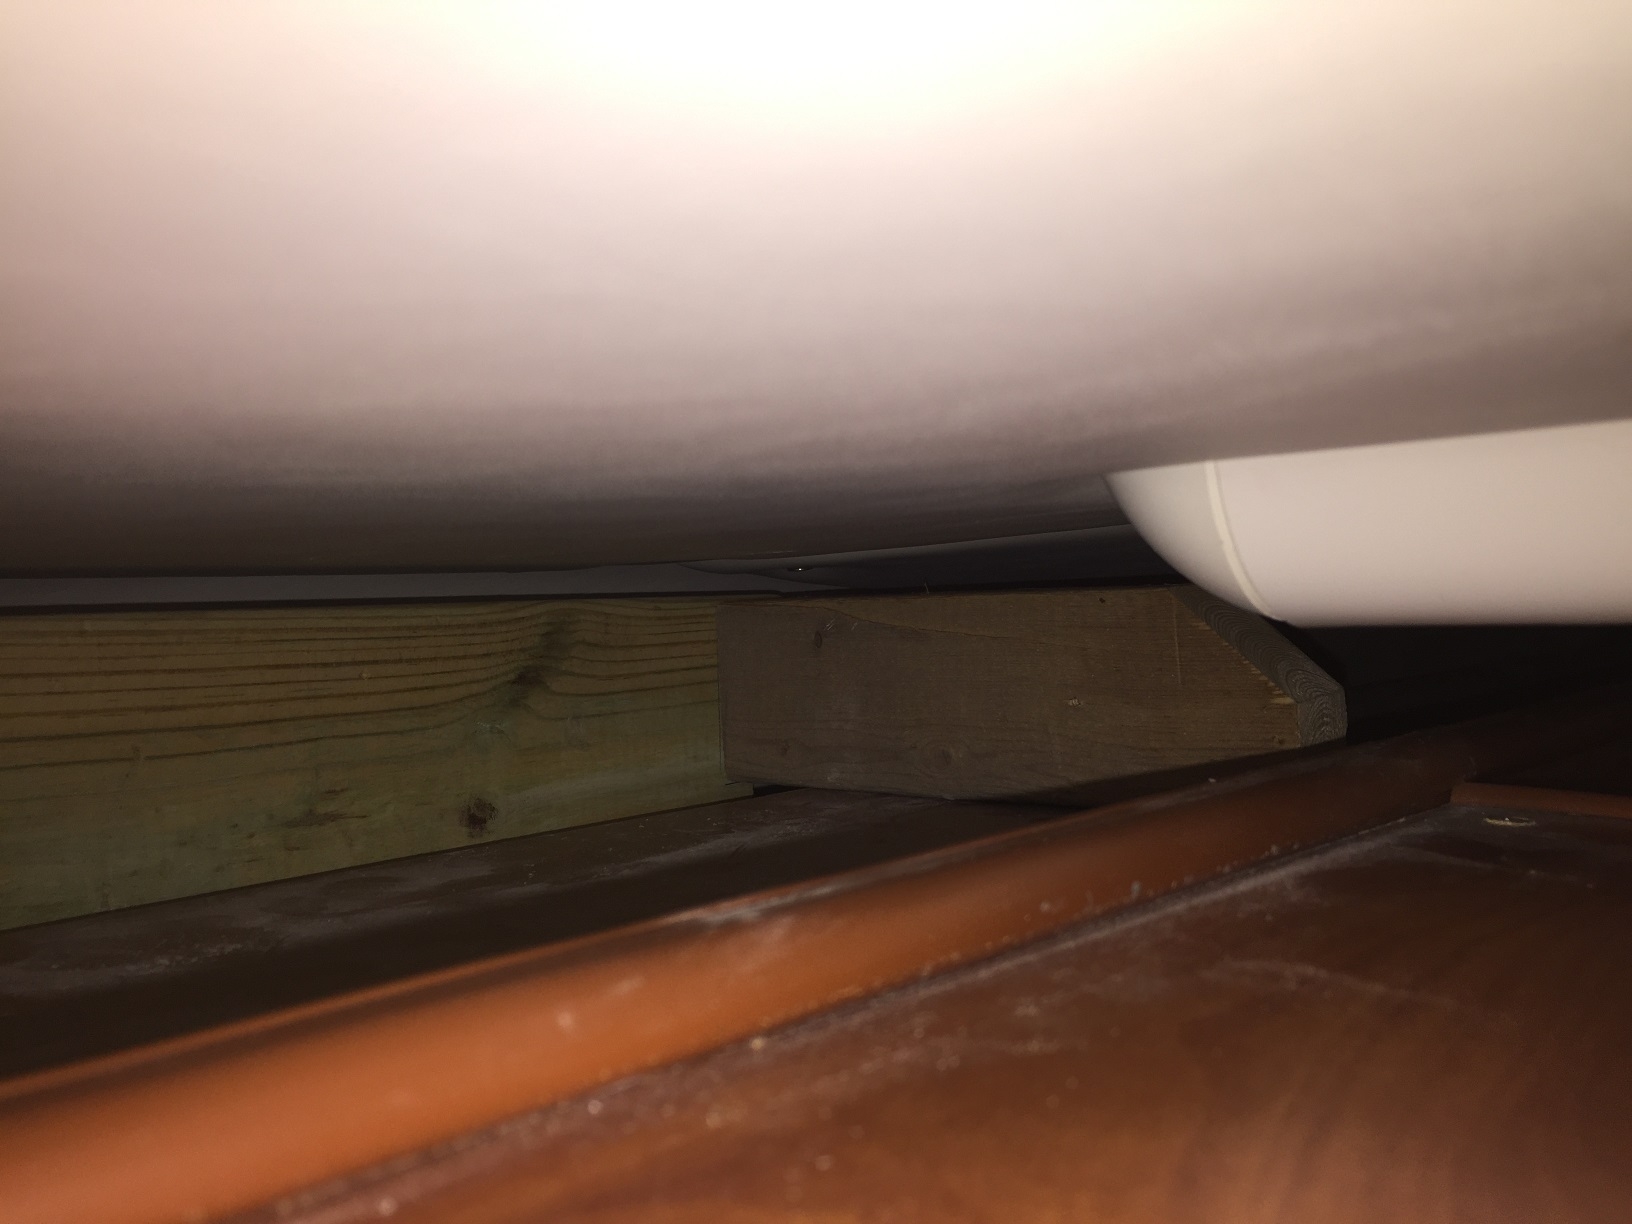
On each end of the backstop, cut the notches as shown. On one corner of the sidestop, cut off a 45-degree triangle about 1.25" wide.

To remove the microwave, remove the eight screws from the underside of the cabinet. Then slide out the microwave (still attached to the wood panel under it), and set it on counter. Unplug the microwave and move it out of the way.

Use two 2.5" screws to attach the sidestop to the backstop. Do not attach the screw plate yet.


Push the assembly up into the cabinet space with the sidestop on the right side. The sidestop will slide up on top of the shelf, and the backstop will hang down a couple inches below the bottom of the shelf. If it doesn't fit, you might have to make a bigger corner cutoff on the sidestop.
While holding the assembly in place, mark a line along the backstop where it meets the underside of the shelf. This is where you will attach the screw plate.
Remove the assembly from the cabinet, and use 2.5" screws to attach the screw plate to the backstop.

Get four 2" screws (NOT 2.5" screws) and screw them partway into the bottom of the screw plate. These are the screws that will hold the assembly to the underside of the shelf. Put the assembly in place inside the cabinet, hold it in place, and screw those four screws the rest of the way in.


Reinstall the microwave, and you are done.
Comments
Dream 'Inn III -- 2008 400 Express
Speaking of drugs on a boat. After buying my first boat I was going through all the stowaways and found the PO dirt weed stash. I really was not happy as I could have gotten in some serious trouble. Also crossed state lines.
06 Rinker 270
2022 Cherokee 294GEBG Black Label land yacht.
Go Steelers!!!